
Jon Barron’s template has become sort of gold standard portfolio for computer vision researcher’s. Recently I decided to upgrade it to this site for more functionalities and of course a bit of fanciness. Without any great knowledge about website design, I took the first step searching for some Github Page template since Github provides free host to static websites. Not only I found it’s super-duper easy to do this web, but also it came to me as a treasure box with thousands of freely available gem themes. (Interestingly, jekyll is managed by RubyGems). Hence it is only right for me to share another tutorial as an amateur.
Other great Tutorials
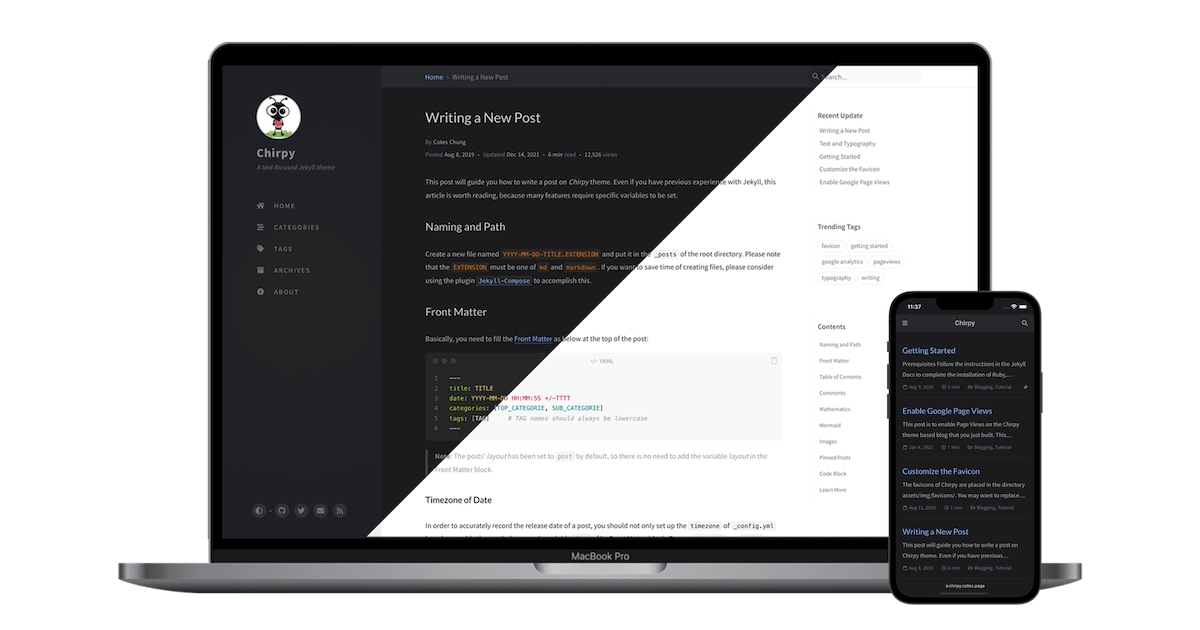
The Chirpy theme live demo gives a detailed tutorial on creating this website and posts. Another in-depth tutorial for Windows users is provided by Jade. Linux users can watch the video from Techno Tim:
TL;DR version
If you feel lazy and want to get the web done in 1 hour, just follow my too-long-didn’t-read version below.
Prerequisite knowledge
- Git(not much)
- Markdown(very easy)
Prerequisite installations
- Windows:
- Install Git, just keep the default installation settings.
- Install Ruby+Devkit latest stable release in bold text.
- Open a command prompt or PowerShell from Windows search bar.
- Install Jekyll
1
gem install jekyll
- Install bundle
1
gem install bundle
- Install Git, just keep the default installation settings.
- Linux:
- Install Git
1
sudo apt install git-all
- Install Ruby
1
sudo apt-get install ruby-full build-essential zlib1g-dev
- Add environment variables
1
2
3
4
echo '# Install Ruby Gems to ~/gems' >> ~/.bashrc
echo 'export GEM_HOME="$HOME/gems"' >> ~/.bashrc
echo 'export PATH="$HOME/gems/bin:$PATH"' >> ~/.bashrc
source ~/.bashrc
- Install jekyll and Bundler
1
gem install jekyll bundler
- Install Git
If installed successfully, type following commands either in Windows or Linux shell should show the version of the packages:
1
2
3
4
ruby -v
gem -v
jekyll -v
bundler -v
Build the website
Now all the required softwares should have been installed, following actions will make the minimal Chirpy theme to work. Of course there are thousands other themes are available, the process is more or less the same.
1. Fork the Chirpy starter
Make sure you fork the Chirpy starter, not the the Chirpy demo repo. name the forked repo as GITHUB-USERNAME.github.io. In my case, it is simonzeng7108.github.io.
2. Clone the repo to local pc
You should clone the Github repo to your local folder either by download the repo or:
1
git clone https://github.com/GITHUB-USERNAME/GITHUB-USERNAME.github.io.git
3. Customise the _config.yml
_config.yml is the main file contains the info about you such as the website title, bio, your social links and etc…
4. Build the website locally
Open Windows or Linux shell and cd to local repo, then type
1
bundle
1
bundle exec jekyll s
Now you can check your website at http://127.0.0.1:4000/.
5. Push to Github
For Windows users, one last step before pushing to Github repo, since Github cloud serve is linux based.
1
bundle lock --add-platform x86_64-linux
Then for all users, just do the regular git push commands.
1
git add .
1
git commit -m "Init"
1
git push
After successfully pushing the local repo to Github, the Github will take a few minutes to build over the cloud, you can see the process at your repo’s Actions tab, green means build finished.
6. Check your website
Ta-da, your free website is available at https://GITHUB-USERNAME.github.io. For more customisation or create posts, check Chirpy official tutorial